
Whether you’re an experienced sewist or just starting out, the right tools can make all the difference in your projects. Sewing is a craft that demands both patience and precision, but it doesn’t have to feel overwhelming.
With the right accessories at your side, you can cut down on repetitive tasks, avoid frustrating mistakes, and focus more on the joy of creating. These small but mighty tools are designed to save time, streamline your process, and open up new possibilities for your designs.
Beyond efficiency, sewing accessories can spark creativity by allowing you to experiment with techniques you might not have tried otherwise. From clever gadgets that speed up fabric preparation to specialty tools that help with detailing and finishing touches, each accessory adds a layer of ease and inspiration to your sewing journey.
In this post, I’ll explore some of the most useful sewing accessories that not only simplify your workflow but also encourage your imagination to flourish.

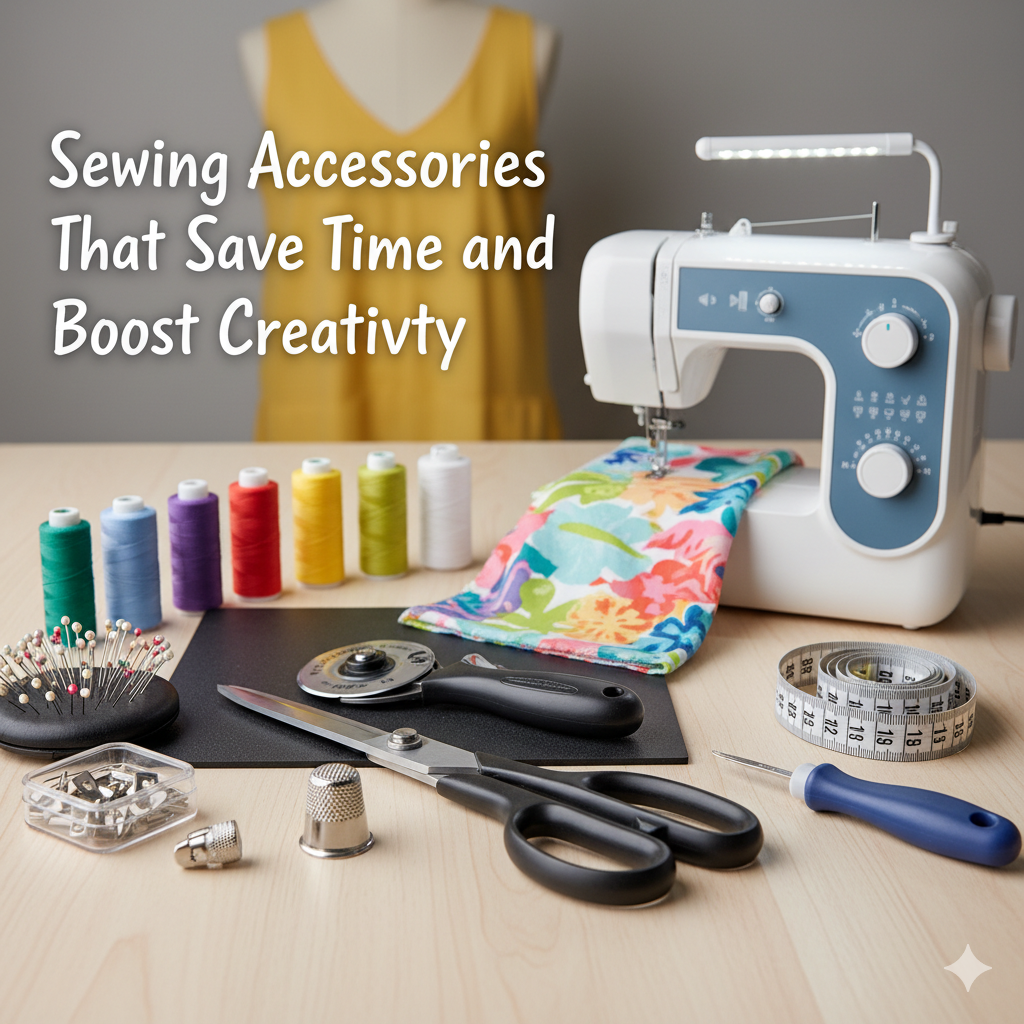
5 Sewing Accessories That Save Time and Boost Creativity
Quick Navigation Menu
The Rotary Cutter, Self-Healing Mat, and Acrylic Ruler
The Water-Soluble Fabric Marking Pen
The right tools don’t just make sewing easier; they transform the entire experience. They can turn tedious tasks into quick, precise motions and open up new avenues for creative expression. Let’s explore the accessories that will become your secret weapons.
1] The Rotary Cutter, Self-Healing Mat, and Acrylic Ruler
This trio is the ultimate time-saving powerhouse, especially for quilters and garment makers working with straight lines and geometric shapes. It replaces the slow process of tracing and cutting with scissors with a swift, rolling motion that produces perfectly straight edges in one go.
Step-by-Step Instructions for Precise Cutting:
Prepare Your Surface: Place your self-healing mat on a flat, stable table. Ensure the fabric you want to cut is smooth and flat on top of the mat. You can fold it to cut multiple layers at once.
Align the Ruler: Position your clear acrylic ruler along the line you wish to cut. The grid lines on the ruler should be aligned with the grain of your fabric or a previously cut edge for accuracy. Press down firmly on the ruler with your non-dominant hand, keeping your fingers well away from the ruler’s edge.
Make the Cut: Hold the rotary cutter like a dagger, with the blade perpendicular to the mat. Starting with the blade against the edge of the ruler, firmly roll the cutter away from your body along the entire length of the ruler. Apply steady pressure—you shouldn’t need to saw back and forth.
Safety First: Always engage the safety lock on the rotary cutter the moment you finish a cut. Replace blades when they start to snag or require excessive pressure.
How it Boosts Creativity: This tool liberates you to experiment with complex piecing, intricate patterns, and bold stripes. Cutting curves becomes a creative joy, allowing you to easily execute designs that would be frustratingly difficult with scissors.

2] The Ergonomic Seam Ripper
A seam ripper is often seen as a symbol of failure, but a high-quality, ergonomic one reframes it as a tool of precision and correction. It saves immense time and frustration when a mistake happens, allowing you to fix errors cleanly without damaging the fabric.
Step-by-Step Instructions for Stress-Free Unsewing:
Identify the Stitch: Turn your fabric to the side with the seam you need to remove. Identify the top thread of the stitches.
Use the Fork: Place the forked, red ball-end of the seam ripper under a single stitch. The ball helps glide under the thread and lifts the fabric slightly to prevent snipping it.
Slice and Pull: Gently push the sharp blade forward to cut the thread. You will hear a small “pop.”
Move Down the Line: Skip down every four or five stitches and repeat the process. Once you have several stitches cut, you can gently pull the top thread, and the entire section will easily unravel.
Clean Up: Use the pointed tip to carefully pull out any remaining thread bits from the fabric.
How it Boosts Creativity: A good seam ripper gives you the confidence to take risks. Knowing you can easily undo a step encourages you to try a more challenging technique, adjust a fit on the fly, or deconstruct a thrift store find for a creative upcycling project.
Check Out Amazons Full Line of Sewing Accessories Here
3] The Water-Soluble Fabric Marking Pen
Precision marking is the difference between a homemade-looking project and a professional one. This pen saves time by providing absolute clarity on where to sew, cut, or place appliqué. The magic is that the marks disappear with just a dab of water, leaving no trace.
Step-by-Step Instructions for Flawless Marking:
Test First: Always test the pen on a scrap of your fabric first. Some fabrics or linings can cause the ink to become permanent.
Mark Your Design: Use the fine tip of the pen to trace your pattern markings directly onto the right side of the fabric. You can mark darts, buttonholes, embroidery patterns, or quilt lines with incredible accuracy.
Sew: Complete your sewing following the clear guidelines you’ve created.

Remove the Marks: Once you’re finished, simply dab the marked areas with a damp cloth or sponge. The marks will vanish instantly. For stubborn marks, a gentle wash will remove them.
How it Boosts Creativity: This tool unlocks detailed embroidery, precise quilt designs, and custom placements. You can freely draw your own designs directly onto the fabric, turning it into your personal canvas without any permanent consequences.
4] A Clear, Gridded Acrylic Ruler
While part of the rotary cutter trio, this ruler deserves its own spotlight for its versatility. It’s not just for cutting; it’s a multi-functional measuring and checking tool that ensures every step of your project is square and true.
Step-by-Step Instructions for Perfect Measuring and Squaring:
Checking Grain Lines: Lay the ruler on your fabric and align its grid lines with the fabric’s selvage (the finished edge). The vertical lines on the fabric’s weave should run parallel to the ruler’s lines. If they don’t, you know you need to straighten your fabric before cutting.
Measuring Seam Allowances: After sewing a seam, press it open. You can place the ruler directly on top of the seam to quickly verify that your allowance is a consistent 5/8″ or 1/2″ along its entire length.
Squaring Up Blocks: When patchworking or quilting, blocks can become slightly distorted. Place the ruler over your block, using the grid lines to align with your seams. You can then see exactly how much you need to trim to make the block perfectly square again.
How it Boosts Creativity: Precision is the foundation of advanced creativity. When your blocks are square and your seams are accurate, complex patterns come together seamlessly. This reliability gives you the freedom to focus on color, texture, and design, rather than fighting with misaligned pieces.
5] A Tailor’s Ham and Sleeve Roll
Pressing is what elevates sewing from a craft to an art. These specialized pressing tools save time by allowing you to press seams open and shape curved areas like darts and sleeves perfectly on the first try, eliminating the need for re-pressing.
Step-by-Step Instructions for Professional Pressing:
For Curved Seams and Darts (Using the Tailor’s Ham): After sewing a curved seam, such as a princess seam or a bust dart, place the seam over the curved surface of the ham. The ham supports the curve, allowing you to press it without creating creases or flattening the intended shape. Use an up-and-down pressing motion with steam, rather than sliding the iron.
For Sleeves and Pant Legs (Using the Sleeve Roll): Slide the sleeve roll inside a sewn sleeve or pant leg. The narrow, cylindrical shape lets you press the long seams open without pressing creases into the opposite side of the garment. You can roll it along as you work your way down the sleeve.
How it Boosts Creativity: Impeccable pressing is the secret to a garment that fits beautifully and hangs elegantly. By mastering the shapes of these tools, you can tackle sophisticated patterns with confidence, creating tailored jackets, elegant dresses, and structured bags that look store-bought.
By integrating these accessories into your sewing practice, you’ll find that you spend less time on frustrating prep and corrections and more time in the joyful flow of creation. They are not just gadgets; they are partners in your creative journey.
Check Out Amazons Full Line of Sewing Accessories Here
Related Reading
Best Sewing Tables for Small Spaces: Compact & Functional Designs