
A well-organized sewing room is more than just a tidy space; it’s the foundation of a joyful and efficient creative practice. Stepping into a room where every tool has a dedicated home and your workflow is intuitive transforms sewing from a hobby into a seamless, almost meditative, process.
Yet, so many of us begin with the best intentions, only to find ourselves constantly getting up to search for a rotary cutter, tripping over power cords, or struggling with poor lighting over our machines. A thoughtful layout directly combats these frustrations, turning your sewing area into a true haven where your creativity can flow uninterrupted, saving you time and energy for the projects you love.
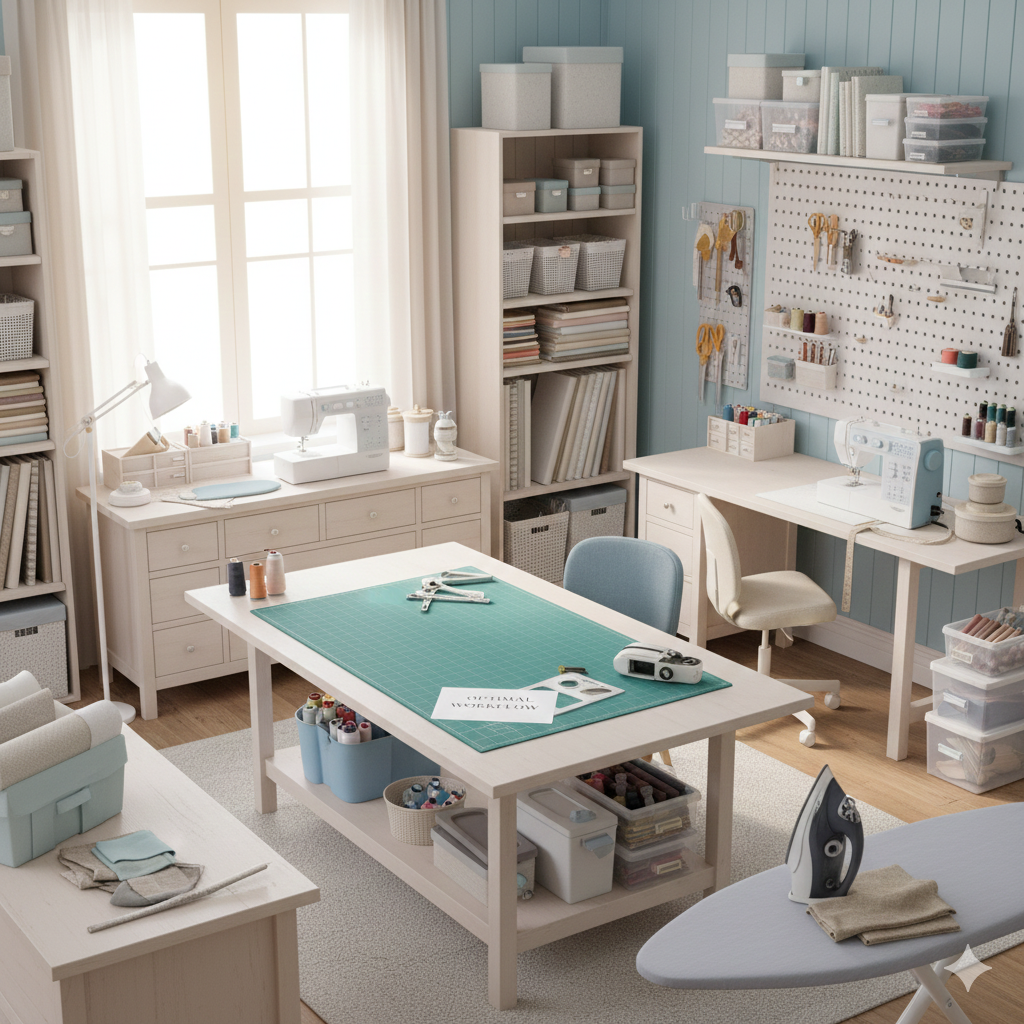
Whether you’re carving out a corner of a guest room or have the luxury of a dedicated studio, optimizing your space is about applying a few key principles of function and flow. This guide will walk you through planning your sewing room’s layout, focusing on how to establish smart zones for different tasks, from cutting and pressing to sewing and finishing.
I’ll discuss how to prioritize ergonomics, maximize storage within arm’s reach, and ensure you have the right light for the right job. Get ready to design a space that not only stores your supplies, but actively supports your craft from the first pin to the final stitch.

4 Steps to Layout Your Sewing Room for Optimal Workflow
Quick Navigation Menu
Define Your Zones (The “Activity Center” Approach)
Analyze Your Workflow and Arrange the Zones
Layout Considerations for Each Zone
Final Tips for a Successful Layout
Step 1: Define Your Zones (The “Activity Center” Approach)
The most efficient sewing rooms are organized into dedicated zones. Think of your room not as one space, but several mini-stations.
The Cutting Zone: This is your primary surface for laying out and cutting fabric. It requires a large, flat, and stable surface at a comfortable height (ideally waist-level to avoid back strain).
The Sewing Zone: This is your command center, anchored by your sewing machine and serger. It needs a sturdy table and excellent task lighting.
The Pressing Zone: Often neglected but critically important. This area for your iron and ironing board should be near your sewing machine to press seams as you go.
The Finishing Zone: A space for hand-sewing, attaching buttons, and other detailed work. This can be a comfortable chair with good light and a small side table.
Storage Zone: Where all your supplies live. This should be distributed for efficiency, with frequently used items stored in the zone where they are used.
Key Question: How much dedicated space can you give to each zone? Even in a small room, you can create micro-zones.

Step 2: Analyze Your Workflow and Arrange the Zones
The goal is to arrange these zones in a logical sequence to create a smooth workflow, much like a kitchen’s “work triangle.”
The Ideal Sequence: Fabric Storage -> Cutting Zone -> Sewing Zone -> Pressing Zone -> Finishing Zone.
A common and highly efficient layout is to place the Pressing Zone immediately next to the Sewing Zone. This allows you to pivot from your machine to the ironing board without taking a step, which is crucial for achieving professional results.
Popular Layout Configurations:
The U-Shape: This is often the most efficient layout for a dedicated room. Your cutting table is in the center, with your sewing station and pressing station on opposite walls, forming a “U.” This puts everything within a few steps.
The L-Shape: Perfect for a corner of a room. Your sewing table forms one leg of the “L” and your cutting table or pressing station forms the other. This is great for maximizing corner space.
The Galley Style: If your space is long and narrow, place your stations along two opposite walls. For example, sewing machine on one wall, cutting and pressing on the opposite wall.
The Island Layout: Centers the room around a large cutting table, which also provides storage underneath. The sewing and pressing stations are placed against the walls. This is ideal for larger rooms.

Step 3: Layout Considerations for Each Zone
The Cutting Zone
The Table: The ideal cutting table is 36″ high (standard counter height) and as large as your space allows. A popular size is 60″ x 36″ to accommodate full fabric widths.
Layout Tip: Place it in the center of the room if possible, allowing you to walk around all sides. If against a wall, ensure you have enough space to stand comfortably in front of it.
Storage Integration: Use the space under the cutting table for storage bins of fabric, batting, or pattern paper.
The Sewing Zone
The Table: Your sewing table must be sturdy to minimize vibration. Ensure it’s at a height that keeps your elbows at a 90-degree angle to prevent shoulder strain.
Layout Tip: Position your chair so you have a pleasant view (like a window) if possible. Ensure there’s clear space to your left for managing large projects like quilts or long skirts.
Accessibility: Use the area immediately around your machine for your most-used tools: scissors, seam ripper, pins, and thread. A small pegboard on the wall next to you is perfect for this.

The Pressing Zone
The Setup: If space allows, a dedicated pressing station with a full-size ironing board at the same height as your sewing table is a game-changer. Wall-mounted ironing boards are a great space-saving solution.
Layout Tip: This is non-negotiable: Place your ironing board right next to your sewing chair. You should be able to reach it by simply turning or swiveling. This single tip will improve your sewing efficiency more than any other.
The Storage Zone
“A Place for Everything”: Store items in the zone where they are used.
Cutting Zone Storage: rulers, rotary cutters, pattern paper, scissors, weights.
Sewing Zone Storage: threads, bobbins, needles, feet, scissors, seam ripper.
Pressing Zone Storage: spray starch, pressing cloths, tailor’s ham/sleeve roll.
Fabric Storage: Store fabric near the cutting zone. Use shelving, cubes, or a chest.
Notions Storage: Store buttons, zippers, elastics, etc., in clear drawers or jars near your sewing machine.
Step 4: Final Tips for a Successful Layout
Leave “Landing Space”: Just like in a kitchen, you need clear counter space next to your appliances. Have a small surface to the left or right of your sewing machine to place projects as you work on them.
Adequate Aisles: Ensure there is enough room to walk comfortably and open drawers fully. A minimum of 36 inches for walkways is a good standard.
Power Up: Plan your layout around electrical outlets. You will need power for your sewing machine, serger, iron, and task lamps. Use power strips with surge protectors and cord management clips to avoid tripping hazards.
Lighting is Key: Combine overall ambient lighting (overhead) with specific task lighting at each zone. An adjustable architect’s lamp is perfect for the sewing machine.
Be Flexible: Your needs will change. Use mobile furniture like rolling carts that can be moved between zones as needed. A rolling cart can serve as additional landing space or hold your current project.
There is no single “perfect” layout. The best layout is the one that reflects your unique process and makes you want to sit down and create. Start with the zone concept, arrange based on your workflow, and adjust as you discover what works best for you.
Related Reading
7 Tips For Setting Up Your Perfect Sewing Space
Creating a Cozy Sewing Room on a Budget
20 Essentials for Any Sewing Room Every Beginner Needs
24 Sewing Room Ideas to Organize Your Space Like A Pro
Bright & Colorful Sewing Room Ideas for Creative Inspiration
The Ultimate Sewing Room Essentials Checklist
How to Make a Sewing Space Anywhere