
Ever feel like your creative ambitions are constantly at odds with the clock? You long to make something with your own hands, but between work, family, and life’s endless to-do list, finding hours for a complex project feels impossible. That’s where the magic of easy sewing patterns comes in. These projects are designed for reality, for the evenings when you have a small window of time and a big need for a tangible, satisfying win.
This isn’t about settling for “simple.” It’s about smart sewing. The right easy sewing pattern can deliver stunning results, boost your confidence, and truly be started and finished in one sitting, perhaps with a cup of tea and your favorite show in the background. The key is choosing projects with minimal steps, forgiving construction, and straight lines.

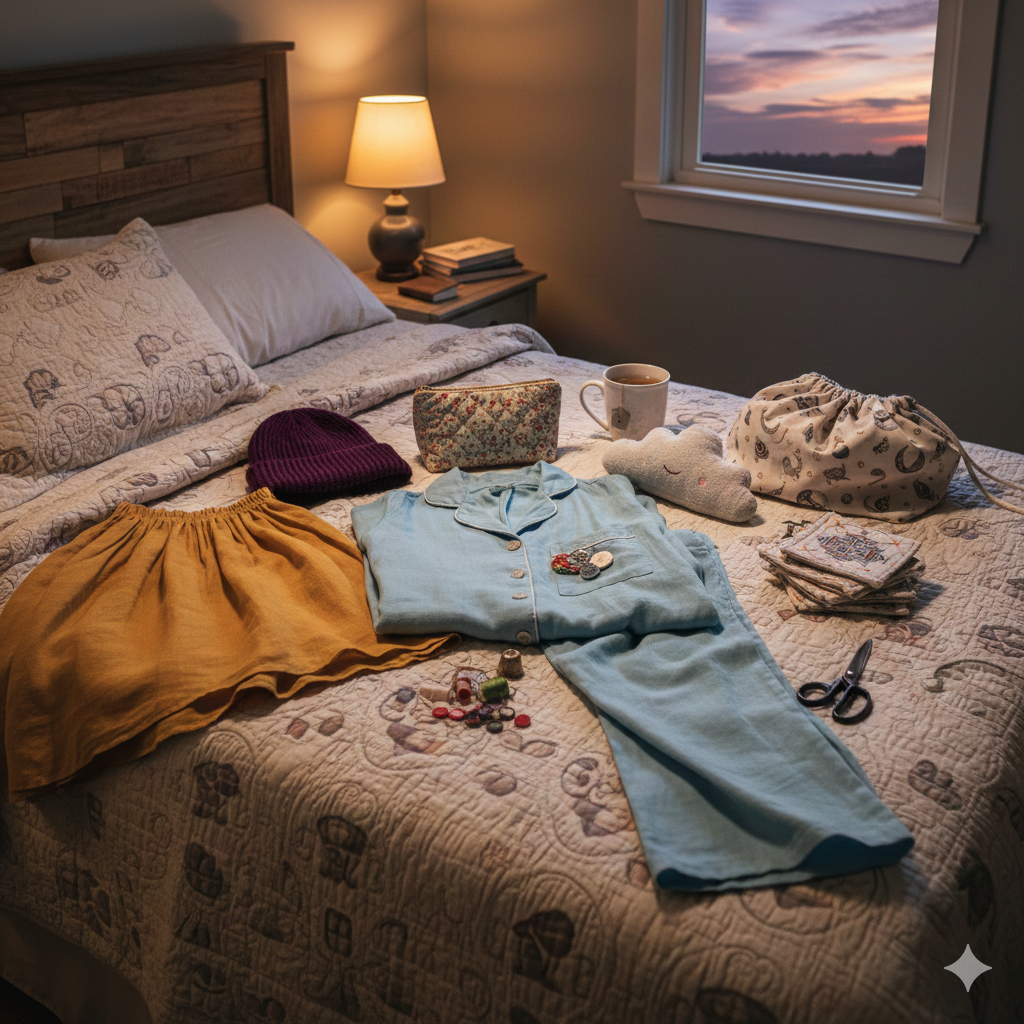
Tonight, you can go from a flat piece of fabric to a finished item you’ll use and love. Let’s dive into seven fantastic easy sewing patterns designed for speed, simplicity, and supreme satisfaction. All you need is your machine, some basic fabric, and a couple of hours at most.
Quick Navigation Menu
7 Easy Sewing Patterns You Can Finish Before Bed
Pattern 1: The Classic Knotted Headband (Time: 20-30 Minutes)
Pattern 2: Reversible Bowl Cozies (Time: 45 Minutes)
Pattern 3: Drawstring Gift Bags (Time: 30-45 Minutes)
Pattern 4: Linen Spa Headband (Time: 25-35 Minutes)
Pattern 5: Super Simple Zippered Pouch (Time: 60 Minutes)
Pattern 6: Crossover Infinity Scarf (Time: 40-50 Minutes)
Pattern 7: Flanged Pillow Cover (Time: 60-75 Minutes)
STOP Settling for “GOOD ENOUGH” Your Sewing Deserves Better! Here’s How to Create Clothes That Fit Like They Were Made Just for You…
The Pre-Sewing Checklist for Speed
Before we jump to the patterns, a little prep ensures your evening sewing is smooth, not stressful.
Fabric Choice is Key: For speed, choose stable, easy-to-handle woven fabrics like quilting cotton, linen, canvas, or flannel. They press well, don’t stretch as you sew, and require less fussing.
Pre-Wash Your Fabric: A quick tumble in the dryer prevents future shrinking and ensures your “before-bed” masterpiece stays perfect.
Gather Your Tools: Have everything at your fingertips: fabric shears, pins or clips, an iron and ironing board (non-negotiable for fast, professional results), your sewing machine with a fresh needle, thread, and any extras like elastic or ribbon listed in the pattern.
Measure and Cut Carefully: The old adage “measure twice, cut once” saves more time than you think. Precise cutting makes the sewing process flow like a dream.
Now, let’s get to the projects. Each includes a realistic time estimate, a difficulty rating (all are Beginner/Easy!), and a clear path to a finished product.
Pattern 1: The Classic Knotted Headband (Time: 20-30 Minutes)
This is the ultimate instant-gratification project. It uses a tiny amount of fabric, teaches you about sewing with stretch, and results in a chic, useful accessory.

Why It’s Easy: One seam. Literally, one long straight seam.
Perfect For: Using up jersey or knit fabric scraps, last-minute gifts, or a quick confidence boost.
What You’ll Need:
– 1/4 yard of stretchy knit fabric (jersey, French terry, sweater knit)
– Matching thread
– Sewing machine (ballpoint needle is ideal for knits)
The Simple Steps:
– Cut a rectangle 20″ long by 9″ wide.
– Fold the rectangle in half lengthwise, right sides together, so you have a long strip.
– Sew along the long raw edge with a 1/2″ seam allowance, creating a fabric tube.
– Turn the tube right-side out (a safety pin or turning tool helps).
– Press the tube flat with the seam running centered down the middle.
– Tie a simple, loose knot in the center. Try it on to adjust the knot’s tightness. You’re done!
Your sewing “DESERVES BETTER” Discover the simple steps to create custom-fit clothes today…
Pattern 2: Reversible Bowl Cozies (Time: 45 Minutes)
These microwave-safe (with the right materials!) pads are a household hero. They protect hands from hot bowls, double as a trivet, and make fantastic, practical gifts.
Why It’s Easy: Straight lines, simple corners, and a clever “burrito” turning method that’s easier than it sounds.
Perfect For: Learning reversible construction, busting cotton scraps, and creating useful kitchen gear.

What You’ll Need:
– Two 9″ squares of 100% cotton fabric (print and solid work great)
– One 9″ square of 100% cotton batting (like Warm & Natural)
– 100% cotton thread
The Simple Steps:
– Create a “sandwich”: Place one fabric square wrong side up, then the batting, then the second fabric square right side up.
– Pin all layers together. Stitch a giant “X” from corner to corner to quilt the layers.
– Stitch around all four edges with a 1/4″ seam allowance, leaving a 3″ gap on one side for turning.
– Carefully clip the corners to reduce bulk.
– Reach through the gap and turn the entire cozy right-side out. Poke out the corners.
– Press flat, ensuring the gap’s raw edges are tucked in.
– Topstitch around the entire edge, about 1/8″ from the edge, which will close the gap and give a polished finish.
Pattern 3: Drawstring Gift Bags (Time: 30-45 Minutes)
Ditch disposable wrapping paper forever. These charming bags are eco-friendly, reusable, and add a special handmade touch to any gift.
Ready to upgrade your “SEWING SKILLS?” Learn how to make clothes that fit like they were made for you.
Why It’s Easy: Two main seams and a simple casing channel—all straight lines.
Perfect For: Sustainable living, wrapping odd-shaped gifts, and using festive fabric remnants.
What You’ll Need:
– Fabric rectangle (Size varies: try 12″ x 18″ for a standard bag)
– Cord, ribbon, or baker’s twine for the drawstring
– Safety pin
– The Simple Steps:
– Hem one of the shorter ends of your rectangle by folding it over twice and stitching.
– Fold the entire piece in half right sides together, matching the other raw edges. You’ll have a tube with a hem at one end.
– Sew the side seam, creating the bag body.
– At the top (raw) edge, fold over 1/4″ to the wrong side and press. Then fold over again about 1″ (enough for your cord) and press. This is your casing.
– Stitch close to the lower folded edge of the casing, leaving a tiny 1/2″ gap in the stitching at the side seam to insert the cord.
– Attach a safety pin to your cord and thread it through the casing, all the way around and out.
– Tie the cord ends together. Done!
Pattern 4: Linen Spa Headband (Time: 25-35 Minutes)

This elegant, non-elastic headband keeps hair off your face during skincare routines or just adds a touch of luxe to a casual outfit. It relies on a button for adjustable closure.
Why It’s Easy: It’s essentially a fabric strip with a buttonhole—a perfect skill-builder.
Perfect For: Practicing buttonholes, working with linen, and making a personalized self-care accessory.
What You’ll Need:
– A strip of linen or cotton fabric 4″ wide by 22″ long
– One button (approx. 1/2″ diameter)
– Basic sewing tools
The Simple Steps:
– Fold the strip in half lengthwise, right sides together, and sew the long edge with a 1/2″ seam.
– Turn the tube right-side out and press flat, centering the seam on the back.
– Tuck the short raw ends inward and press.
– Overlap the ends by about 1.5″ to form the headband loop and pin.
– Topstitch around the entire perimeter of the headband, about 1/8″ from the edge. This will secure the overlapped ends and give a crisp finish.
– On the overlapping end (the top layer), sew your button.
– On the underlapping end (the bottom layer), make a vertical buttonhole that fits your button. Your machine’s automatic buttonhole function makes this a breeze.
Pattern 5: Super Simple Zippered Pouch (Time: 60 Minutes)
A zipper might seem intimidating, but this method—the “pillowcase” or “window” method—hides the zipper ends and requires no tricky topstitching.
Why It’s Easy: It uses the zipper as a structural part of the sewing process, making alignment foolproof.
Perfect For: Conquering zipper fear, organizing small items, and creating a makeup bag or pencil case.

What You’ll Need:
– Two outer fabric rectangles (6″ x 8″)
– Two lining fabric rectangles (6″ x 8″)
– 7″ or longer zipper
– Zipper foot for your machine
The Simple Steps:
– Place one outer fabric piece right side up. Lay the zipper face down along the top edge, aligning the zipper tape with the fabric edge.
– Place one lining piece wrong side up on top, sandwiching the zipper. Pin.
– Using your zipper foot, sew along this top edge through all layers.
– Open the fabrics so the outer and lining are facing out. Press.
– Repeat steps 1-4 on the other side of the zipper with the remaining outer and lining pieces.
– Open the zipper halfway (THIS IS CRUCIAL so you can turn it out later).
– Unfold everything so it lies flat. Pin the outer fabrics right sides together and the lining fabrics right sides together, creating a pouch shape with the zipper in the middle.
– Sew all the way around the square, leaving a 3″ gap in the bottom of the lining.
– Clip corners, turn the pouch right-side out through the gap in the lining, and push the lining into the pouch. Stitch the lining gap closed by hand or machine. You have a perfect pouch!
Turn “ALMOST RIGHT” into “ABSOLUTELY PERFECT” Learn the secrets to better-fitting clothes today!
Pattern 6: Crossover Infinity Scarf (Time: 40-50 Minutes)
This stylish scarf looks far more complicated than it is. It’s a single loop with a clever crossover detail, requiring no finishing of long edges.
Why It’s Easy: The long edges are selvages or simply left unfinished for a breezy look. The focus is on two main seams.
Perfect For: Working with lightweight, drapey fabrics like rayon challis or chiffon, and creating a statement accessory.

What You’ll Need:
– 3/4 yard of a drapey fabric (at least 45″ wide)
– Thread
The Simple Steps:
– Cut your fabric to 30″ in length (along the selvage). You will use the full width of the fabric (usually 45″).
– Fold the giant rectangle in half right sides together, matching the two 30″ sides. Sew along this side with a 1/2″ seam, creating a wide tube.
– Turn the tube right-side out. Now, arrange the tube so the seam runs down the center (like a backpack strap).
– Bring the two open ends of the tube together, but offset them by about 8-10 inches. This creates the crossover.
– Sew these two open ends together with a 1/2″ seam, essentially connecting the tube into a giant loop. You’ll be sewing through multiple layers where the fabric crosses—go slowly.
– Turn the scarf right-side out through the opening you just sewed (it will be large enough). Use a tool to gently pull all the fabric through. Give it a good press. The raw edges at the crossover point are hidden inside the loop.
Pattern 7: Flanged Pillow Cover (Time: 60-75 Minutes)
Elevate your living space with a professional-looking pillow cover that features a crisp, self-made flange (the flat border). It uses an envelope closure, so no zipper is needed.
Why It’s Easy: The flange is created simply by using a smaller seam allowance, and the envelope back makes insertion easy.
Perfect For: Learning precise sewing, refreshing home decor instantly, and making custom-sized cushions.
What You’ll Need:
– Front fabric: Cut to your pillow form size (e.g., 18″ square).
– Back fabric: Cut two pieces. Each should be the pillow width by (pillow height divided by 2, plus 4 inches). For an 18″ pillow, cut two pieces 18″ wide by 13″ high.
– Pillow form
The Simple Steps:
– Hem one long edge of each back piece by folding twice and stitching.
– Lay the front piece right side up. Place the two back pieces right side down on top, with their hemmed edges overlapping in the center. Pin all layers.
– Sew around the entire perimeter with a 1″ seam allowance. This large allowance is what creates the flange.
– Clip the corners, turn right-side out, and poke out corners firmly.
– Insert your pillow form through the envelope opening in the back. The crisp, tailored flange will frame your pillow beautifully.
Your Evening of Achievement Awaits
The beauty of these easy sewing patterns lies in their dual power: they deliver a finished object you can be proud of while quietly building your fundamental skills. Each straight seam, each pressed edge, each simple closure adds to your muscle memory and confidence.
Don’t underestimate the joy and pride that comes from using something you made yourself, especially when the journey from start to finish fit neatly into a single evening. It proves that your creative life doesn’t require huge blocks of time—just intentional, well-chosen projects.
So tonight, pick one. Clear off the kitchen table, fire up your iron, and give yourself the gift of making. By bedtime, you’ll have more than just a new headband or pouch; you’ll have the renewed energy that comes from a creative accomplishment. Happy sewing!
Related Reading
Easy Sewing Patterns That Only Require Straight Lines
19 Easy Sewing Patterns for Last-Minute Gifts (That Look Thoughtful)