
Think you don’t have time to sew? Think again! Even if your schedule is packed, you can still squeeze in a quick and satisfying project. With just 15 minutes, a few basic supplies, and a little creativity, you can whip up something useful, stylish, or even gift-worthy. These fast and fun sewing projects are perfect for beginners who want instant results, as well as seasoned sewists looking for a quick win.
In this post, I’ve gathered 25 sewing projects that prove you don’t need hours at the machine to make something amazing. From handy household items to cute accessories and clever upcycles, each project can be completed in as little as a coffee break. Whether you’re looking for a last-minute gift idea or just a fun way to use your scraps, you’ll find plenty of inspiration to get stitching…fast!

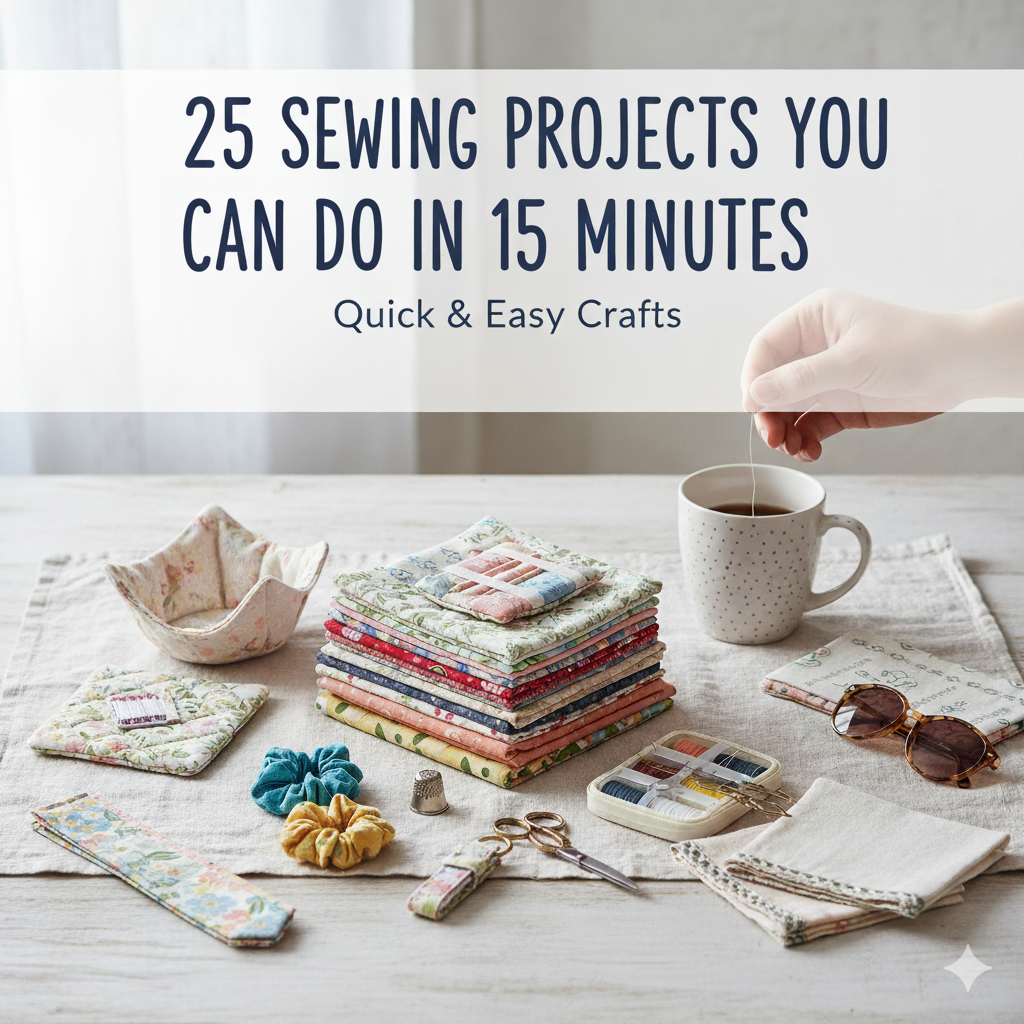
25 Sewing Projects You Can Do in 15 Minutes
Quick Navigation Menu
5 Easy Sewing Projects for Kids
5 Simple Sewing Projects
Perfect for absolute beginners, these projects require straight seams and minimal materials.
1] The Classic Handkerchief
Materials: A 12″x12″ square of soft cotton (like quilting cotton or flannel), matching thread, scissors.
Instructions:
– Cut your fabric to a perfect square.
– Fold each edge over by 1/4 inch, then fold over again another 1/4 inch to create a clean hem. Press with an iron.
– Stitch along the inner folded edge of the hem on all four sides. Backstitch at the beginning and end to secure.
2] Coaster Set
Materials: Two 4″x4″ squares of fabric per coaster (a top fabric and a backing), matching thread.
Instructions:
– Place the two squares with right sides together.
– Sew around the edge with a 1/4″ seam allowance, leaving a 2-inch gap on one side.
– Trim the corners, turn right side out, and press flat.
– Topstitch around the entire edge, about 1/8″ from the side, which will automatically close the gap.
3] Simple Drawstring Bag
Materials: One rectangular piece of fabric (e.g., 10″ wide x 14″ tall), cord or ribbon, safety pin.
Instructions:
– Fold the fabric in half with right sides together, creating a tube. Sew up the side seam and along the bottom.
– Fold the top edge down 1/4″, then down 1″ to create a channel. Stitch close to the bottom folded edge, leaving a small gap to insert the cord.
– Attach a safety pin to your cord and thread it through the channel. Tie the ends together.

4] Pillowcase (Roll-Up Method)
Materials: Main fabric (27″ x 40″), cuff fabric (10″ x 40″), coordinating thread.
Instructions:
– Lay the cuff fabric right side up. Place the main fabric right side down on top, aligning one of the 40″ edges.
– Place the main body panel right side down on top of the main fabric. You’ll have a stack: cuff (RS up), main (RS down), body (RS down).
– Roll the body panel towards the seamed edge until it’s a tight roll.
– Fold the cuff and main fabric over the roll, aligning the raw edges. Pin and sew with a 1/2″ seam.
– Pull the body panel out through the tube, unroll, and you have a perfectly finished pillowcase!
5] Fabric Scrap Keychain
Materials: Long strip of fabric (approx. 1.5″ x 10″), keyring, scraps of batting (optional).
Instructions:
– Fold the strip in half lengthwise, right sides together. Sew along the long edge with a 1/4″ seam.
– Turn the tube right side out (use a safety pin or bodkin).
– Tie a knot in the center of the tube. Slide the keyring onto one end and tie another knot to secure it.
5 Small Sewing Projects
Small in size but big on usefulness, these mini projects are great for using up scraps.
1] Zipper Pouch
Materials: Two pieces of fabric (5″x7″), one 7″ zipper, thread.
Instructions:
– Place one fabric piece right side up. Place the zipper face down on top, aligning the top edges. Place the second fabric right side down on top of the zipper. Sandwich the zipper.
– Sew along the top edge using a zipper foot. Flip the fabrics out so they are right sides out.
– Open the zipper halfway (this is crucial!). Place the two pieces right sides together and sew around the other three sides.
– Turn right side out through the open zipper.
2] Reusable Swiffer Pad
Materials: Terry cloth or fleece (cut to the size of your Swiffer head), thread.
Instructions:
– Cut two pieces of terry cloth to size.
– Place them right sides together and sew around the edge with a 1/4″ seam, leaving a 2-inch gap.
– Turn right side out, press, and topstitch around the entire edge, closing the gap. The topstitching also creates channels for the Swiffer clips.

3] Eyeglass Case
Materials: Two pieces of fabric (5″x8″), felt or flannel for lining (optional), thread.
Instructions:
– If using a lining, treat the outer fabric and lining as one piece by placing them wrong sides together.
– Fold the fabric in half (so it’s 5″x4″) with right sides together.
– Sew around the two side edges, leaving the top open.
– Trim the corners, turn right side out, and press.
4] Credit Card Wallet
Materials: Two outer fabric pieces (4″x5″), two lining pieces (4″x5″), snap or button.
Instructions:
– Place one outer and one lining piece right sides together. Sew around three sides, leaving the top (5″ side) open. Repeat for the other side. Turn right side out and press. These are your two halves.
– Place the two halves together, lining sides facing out.
– Sew along the bottom edge to join them.
– Fold the wallet up and sew a vertical line in the center to create two card slots. Attach a snap or button.
5] Mini Pillow for a Pet
Materials: Two fabric squares (10″x10″), fiberfill stuffing.
Instructions:
– Place squares right sides together. Sew around the edge with a 1/2″ seam, leaving a 3-inch gap.
– Trim corners, turn right side out, and press.
– Stuff firmly. Hand-stitch the opening closed with a ladder stitch.
5 Easy Sewing Projects for Kids
Supervised little ones can help with these projects, building confidence and creativity.
1] Felt Crown
Materials: Felt sheet, scissors, velcro dots, decorations (glitter glue, markers).
Instructions:
– Cut a zig-zag pattern along the long edge of a felt rectangle (approx. 4″x20″).
– Let your child decorate the crown with glitter glue or markers (let it dry).
– Wrap the crown around their head, mark the size, and attach velcro dots to each end to form a closure.

2] Bean Bags
Materials: Scrap fabric (cut into squares or circles), dry rice or beans, funnel.
Instructions:
– Place two fabric pieces right sides together. Let the child help you sew around the edge, leaving a small gap.
– Turn right side out. Use a funnel to fill the bag 2/3 full with rice or beans.
– Help them hand-stitch the opening closed.
3] Doll Scarf or Blanket
Materials: Scraps of soft fabric (flannel, minky), ribbon (for scarf).
Instructions:
– Scarf: Simply cut a long, thin strip of fabric and use pinking shears to prevent fraying.
– Blanket: Cut two squares of fabric. Place right sides together, sew around the edge leaving a gap, turn right side out, and stitch the gap closed.
4] Decorated Felt Bookmarks
Materials: Rectangular felt piece, scissors, fabric glue, buttons.
Instructions:
– Cut a rectangle of felt (approx. 2″x7″).
– Cut a slit or a small triangle out of the top center to fit over a book page.
– Let your child glue on buttons or smaller felt shapes to decorate.
5] Simple Fabric Headband
Materials: Stretchy knit fabric strip (18″ long x 3″ wide), thread.
Instructions:
– Fold the strip in half lengthwise, right sides together.
– Sew along the long edge with a 1/4″ seam, creating a tube.
– Turn the tube right side out.
– Overlap the ends by 1 inch and sew them securely together.
5 Fun Sewing Projects
Add a pop of personality to your life with these quick and cheerful makes.
1] Fabric Feather
Materials: Scraps of fabric, embroidery floss, stuffing, stick (optional).
Instructions:
– Cut a feather shape from your fabric.
– Use a running stitch with embroidery floss down the center of the feather.
– Make small cuts along the sides to create a “fringed” look. Glue to a stick for a decoration.
2] Party Garland (Flags)
Materials: Various fabric scraps, bias tape or string, scissors.

Instructions:
– Cut a bunch of triangles from different fabrics.
– Place the top of a triangle inside the fold of a long piece of bias tape.
– Simply sew along the entire length of the bias tape, securing each flag as you go.
3] Microwaveable Bowl Cozy
Materials: Two 10″x10″ squares of cotton fabric, two 10″x10″ squares of 100% cotton batting (like Warm & Natural), thread. No synthetic batting!
Instructions:
– Make a “sandwich”: batting, fabric (RS up), fabric (RS down), batting.
– Sew around all four edges with a 1/4″ seam, leaving a 3-inch gap on one side.
– Turn right side out through the gap. Press. Topstitch around the entire edge, closing the gap.
– Topstitch an “X” from corner to corner to keep the layers from shifting.
4] Reusable Makeup Remover Pads
Materials: Soft flannel or terry cloth, scissors.
Instructions:
– Cut circles or squares from your fabric (2-3 inches wide).
– Place two pieces wrong sides together.
– Sew a simple zigzag or decorative stitch around the edge to hold them together.
5] Holiday Ornaments
Materials: Felt, stuffing, ribbon, holiday-themed buttons.
Instructions:
– Cut two identical shapes (tree, star, circle).
– Sew a button or embellishment to the right side of one piece.
– Place the two pieces right sides together, sewing around the edge and leaving a small gap. Insert a ribbon loop for hanging before closing.
– Turn right side out, stuff lightly, and stitch the gap closed.
5 Sewing Projects for Teens
Trendy, practical, and perfect for personalizing their style.
1] Tech Cord Tidy
Materials: Scrap of fun fabric (4″x6″), two small snaps or velcro dots.
Instructions:
– Fold the fabric in half lengthwise, right sides together. Sew along the long edge and one short edge.
– Turn right side out. Press.
– Fold the open end inward and topstitch it closed.
– Attach snaps or velcro to the ends. Wrap cords up and secure.
2] Lanyard for Keys or ID
Materials: Long strip of fabric (2″x40″), D-ring, split key ring.
Instructions:
– Fold the long strip in half lengthwise, right sides together. Sew along the long edge.
– Turn the tube right side out (use a bodkin or safety pin). Press.
– Thread one end through the D-ring and fold it back on itself by 1 inch. Stitch securely in place.
– Attach the split ring to the D-ring.

3] Patchwork Denim Jacket
Materials: Denim jacket, assorted fabric scraps for patches, fusible web, thread.
Instructions:
– Cut fun shapes from your fabric.
– Use fusible web to iron them onto the jacket in a cool arrangement.
Use a tight zigzag or satin stitch to sew around the raw edges of every patch to secure it. This is called “appliqué.”
4] Reusable Tote Bag
Materials: Two rectangles of sturdy canvas (15″x18″ for the body, 4″x28″ for handles).
Instructions:
– Place the two large rectangles right sides together. Sew around the sides and bottom.
– Box the corners by pinching the bottom corner flat and sewing a line across it (approx. 1.5″ from the point).
– For handles, fold the long strips in half lengthwise, press, open, and fold the raw edges into the center. Fold again and topstitch down both long edges.
Pin handles inside the bag and stitch in a square shape for maximum strength.
5] Scrunchies
Materials: Fabric strip (4″x18″), 7″ of elastic, safety pin.
Instructions:
– Fold the fabric strip in half lengthwise, right sides together. Sew along the long edge, creating a tube.
– Turn the tube right side out.
– Thread the elastic through the tube using a safety pin. Overlap the elastic ends and sew them together securely.
– Fold the raw edges of the fabric tube inward and hand-stitch the opening closed, encasing the elastic.
– So there you have it! Twenty projects to jumpstart your sewing mojo without eating up your day. Which one will you try first? Happy sewing
Related Reading
10 Creative Sewing Ideas for Using Old Sheets
How to Save Money On Your Sewing Projects
8 Simple Sewing Projects to Transform Old Fabric Scraps
Why Beginners Struggle to Finish Sewing Projects (and How to Change That)
10 Creative Ways to Upcycle Old Towels
8 Creative DIYs from Your Old Pillowcases
8 Beginner-Friendly Pet Clothing Projects: Cute, Cozy, and Easy to Sew!